|
|
|
  Merry Christmas from our family to yours! Hope everyone's having a great holiday!
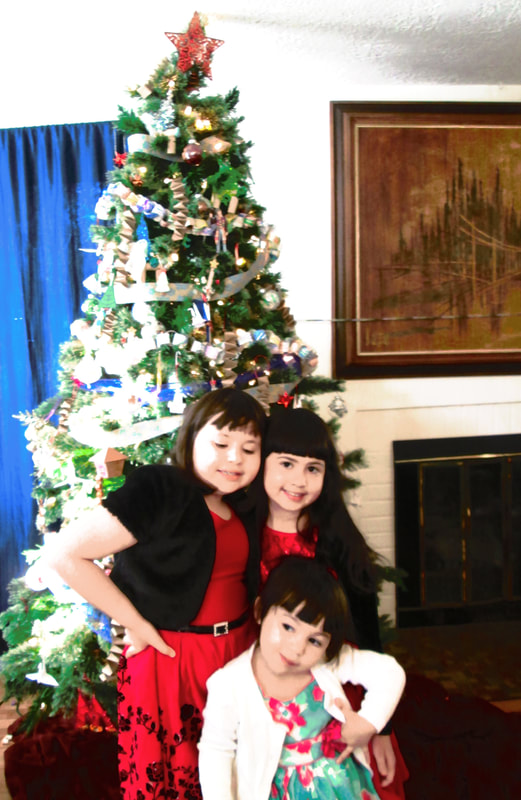
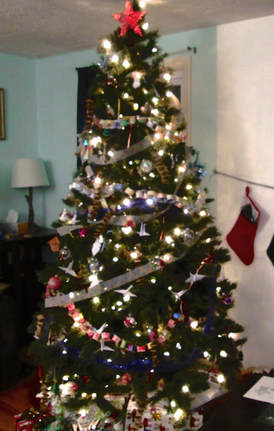
Here are my girls all hyped up on chocolate and in their party dresses (5 seconds ago, they were still in pajamas, LOL). Taking this picture took about a zillion tries, as those who have kids would know. This is about as good as it gets. :) If you see the tree behind the girls, we made almost all the ornaments on it together, with only a couple of gift ornaments thrown in that we received on Christmas day. As some of you who know me are aware, we had a flood a couple months ago that filled our basement almost to the ceiling with water. We threw out a lot of holiday decorations, and others still need to be fixed and cleaned, so we had nothing for our tree when this Christmas rolled around. So this past week, we all worked like mad to make our home festive, and it was a great time. We used a lot of ingenuity - many of the decorations are paper crafts and/or with parts purchased from our local dollar store. Decorating the entire tree was under $25 and used things like pipe cleaners, brown butcher paper, white paper for origami cranes, and stickers/colored tape on plastic bulbs. And best of all, the kids were so proud of having made all the decorations themselves. Here are links to some instructions to make some of the ornaments we did, if you ever find yourself in the same bind as having an ornament-less tree (or want to make decorations with your kids, just for fun). 1) ACCORDIAN ORNAMENTS --- We used shorter paper than in the example link below, and taped the ends shut to prevent the ornaments from unraveling. String a cord through one end, and you have a beautiful decoration! https://www.craftiments.com/2014/07/accordion-fold-paper-garland-tutorial.html 2) ORIGAMI PAPER CRANES --- We used computer paper cut in half and folded into squares (2 per sheet of paper), but you can use fancy origami paper if you prefer. The white really stands out against the dark green tree. https://www.wikihow.com/Fold-a-Paper-Crane 3) PAPER RING CHAIN --- We took computer paper and colored it ourselves, so we could make it any color we wanted and make stripes and different patterns. Even my three-year-old could get involved in this craft. Then we cut up the paper in strips (16 per page) and stapled them together. Alternately, you can glue or tape them together, but stapling is probably the fastest way to do it. https://www.wikihow.com/Make-a-Paper-Chain 4) PLASTIC BULBS --- We bought these from our local dollar store - you get 2 per package for just $1. You can take off the top and fill it with "snow" (we bought a package of small styrofoam balls that look like snow and can be spooned into the top). We curled up colorful pipe cleaners and shoved them in, creating abstract interiors, then also added stickers and colorful washi tape strips to the outside. I've included links to similar items we used down below, but, as I said, we got all of this from our local dollar store for a buck per packaged item. BULBS: https://www.amazon.com/Creative-Hobbies-Round-Plastic-Ornaments/dp/B00EA27NYU SNOW: https://www.amazon.com/0-1-0-18Inch-Styrofoam-Decorative-Craft-8000PcsX1Pack/dp/B06XJJS3G7 PIPE CLEANERS: https://www.amazon.com/Glitter-Cleaners-Chenille-Metallic-Decoration/dp/B01LX1X0DB WASHI TAPE: https://www.amazon.com/Rolls-Decorative-Masking-Crafts-Wrapping/dp/B06XNJH7YK/ref=sr_1_2_sspa?s=arts-crafts&ie=UTF8&qid=1545767518&sr=1-2-spons&keywords=washi+tape&psc=1 5) RIBBON --- I've never done this before, but I always see this done in those Hallmark Christmas movies - add ribbon to a tree. My kids and I watched a couple Hallmark movies while wrapping presents and had the brilliant idea to try it ourselves. We put in a couple of the decorating ribbons that we got at (you guessed it) our dollar store, and they looked great in the tree. 6) BELL ORNAMENTS --- Very simple - get a package of jumbo-sized bells (we got a package of 6 for $1) and string them with colorful red string. Voilà: ornament. https://www.orientaltrading.com/jumbo-goldtone-jingle-bells-a2-57_122.fltr?plaId=550060 7) ORIGAMI STAR --- This is one of the few advanced crafts that I did myself and the kids hung up after I made them. John Montroll, origami genius, created these 3-D origami stars that are just beautiful. Down below is a link to a YouTube video of someone folding one, but I would only suggest that this is a good craft only for older kids or adults already familiar with the ins and outs of origami. It's not a beginner project, and kids who are too young or inexperienced might get a bit frustrated with how hard it is. https://www.youtube.com/watch?v=jYd1OeoL18U After making all these ornaments, throw on a few candy canes, and you're all set! Tree decorated!
1 Comment
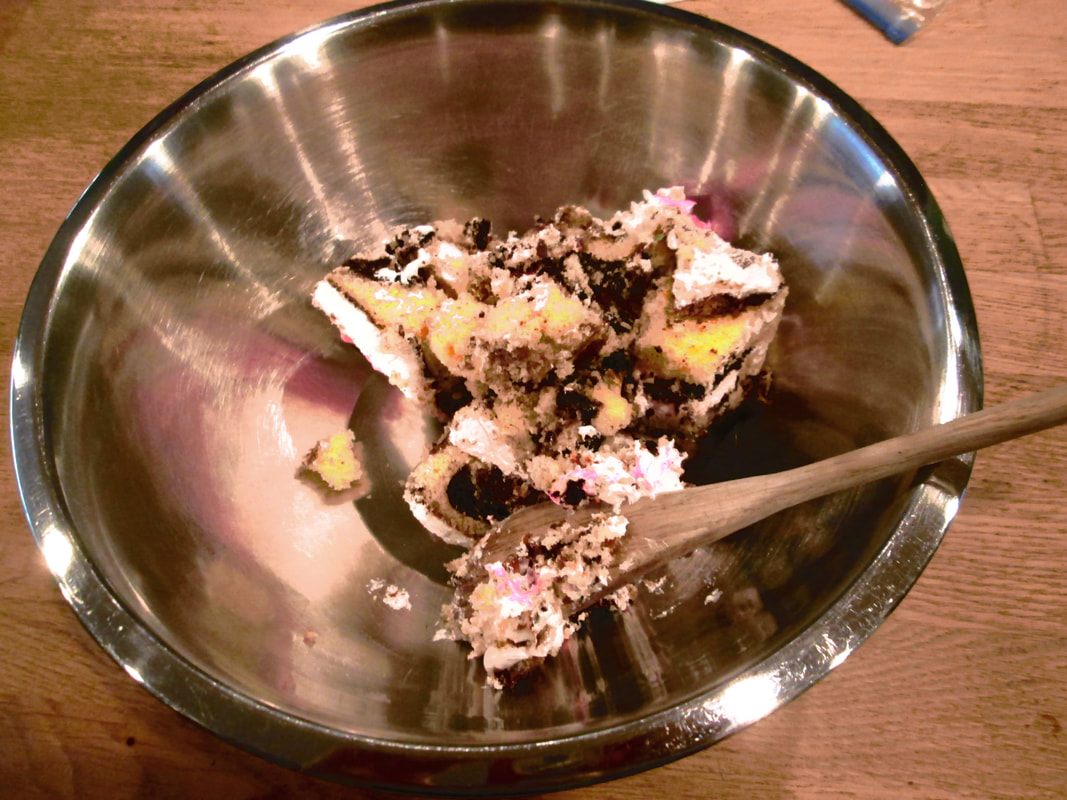
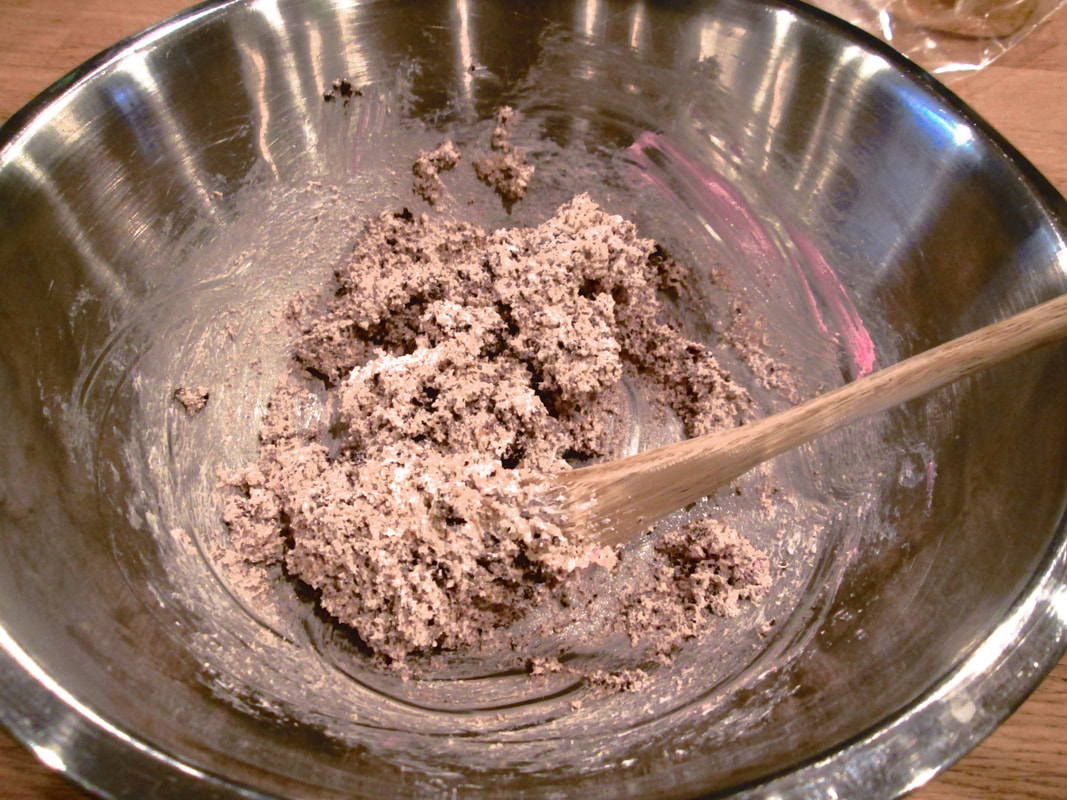
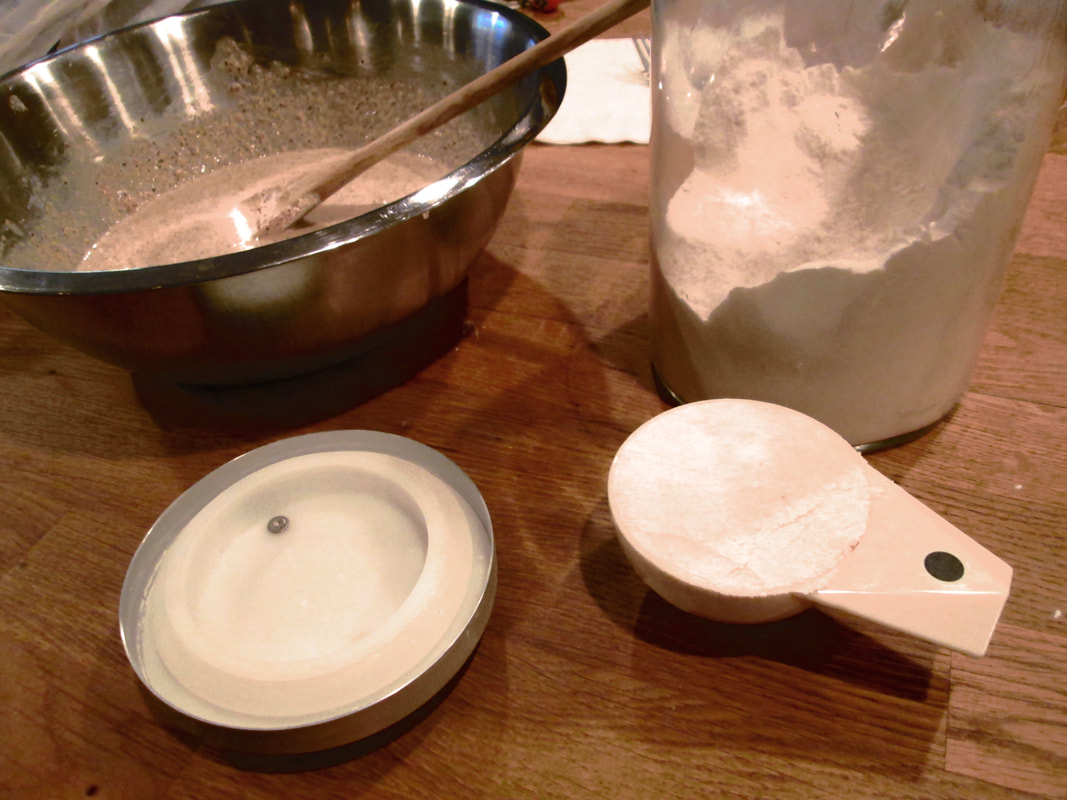
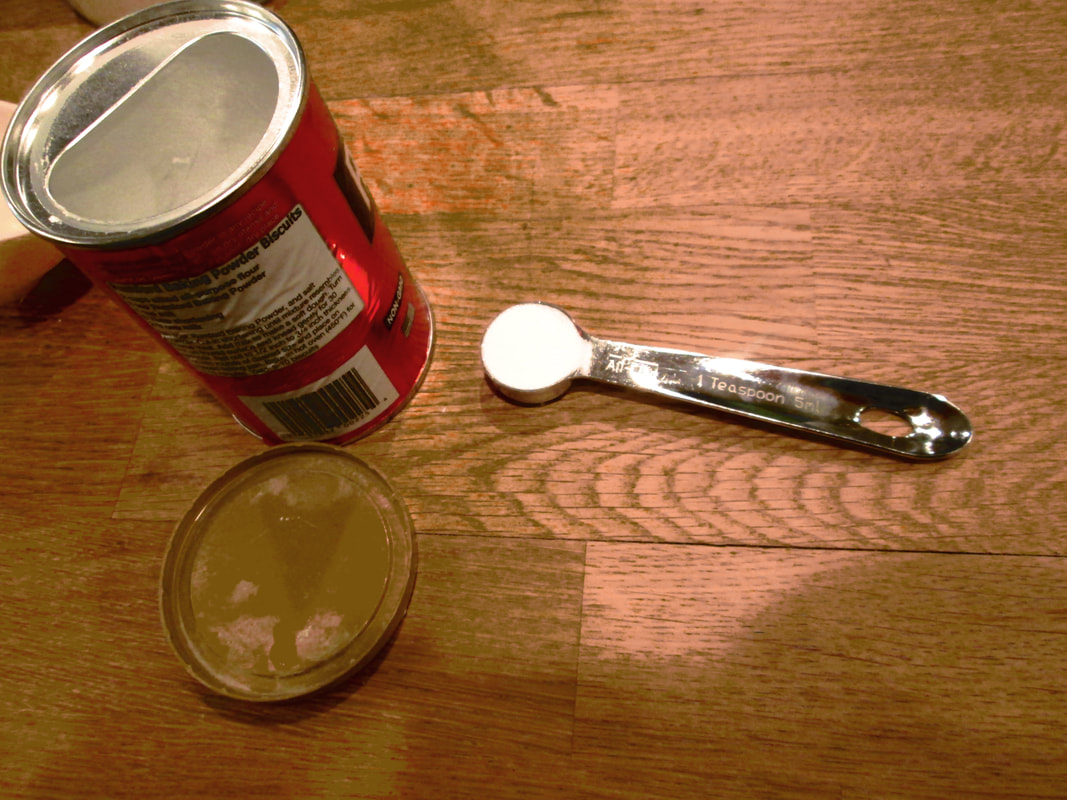
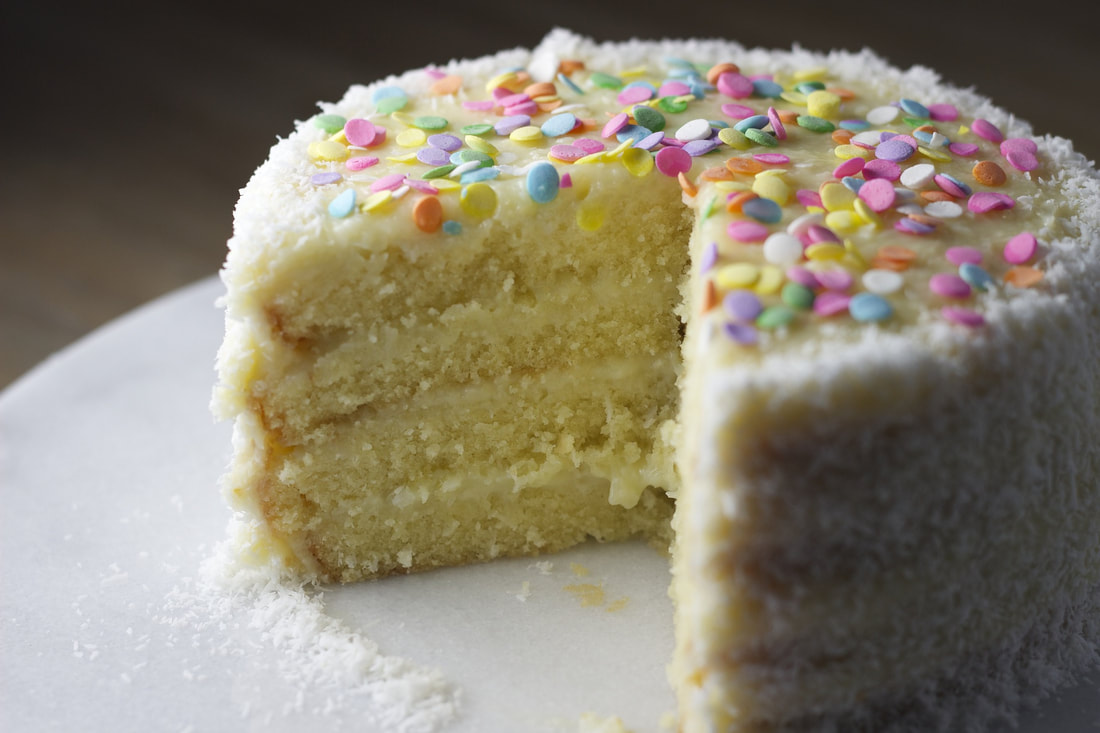 Two of my daughters recently had birthdays and birthday parties - what that means is a lot of leftover birthday cake. I could just throw it out, but I grew up with the idea of repurposing food to make it interesting the second, third, and tenth time around. So my kids and I came up with birthday cake pancakes. Are these healthy for your kids? LOL, probably not. But they're fun to make (kids like to participate, especially when it comes to mushing up the cake) and they create something a bit different with all that leftover cake. INGREDIENTS (adjust to fit size of leftover cake): - An indeterminate amount of leftover cake - this was from one of those big sheet cakes, probably about an eighth of the cake, with the frosting. - 1/3 cup milk - 1/2 cup flour - 1 tsp baking powder - vegetable oil for pan 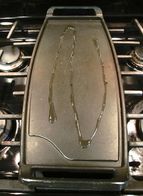 TO PREPARE: 1) Add a zigzag of oil to the pan and set it to heat. Mine is a low-heat burner intended for re-heating items, so I set it on high, but most burners should be set to low or medium low. The sugar in the cake will cause the pancakes to burn if you set the stove too high. 2) Mush up the cake (yes, that is the technical term for it).
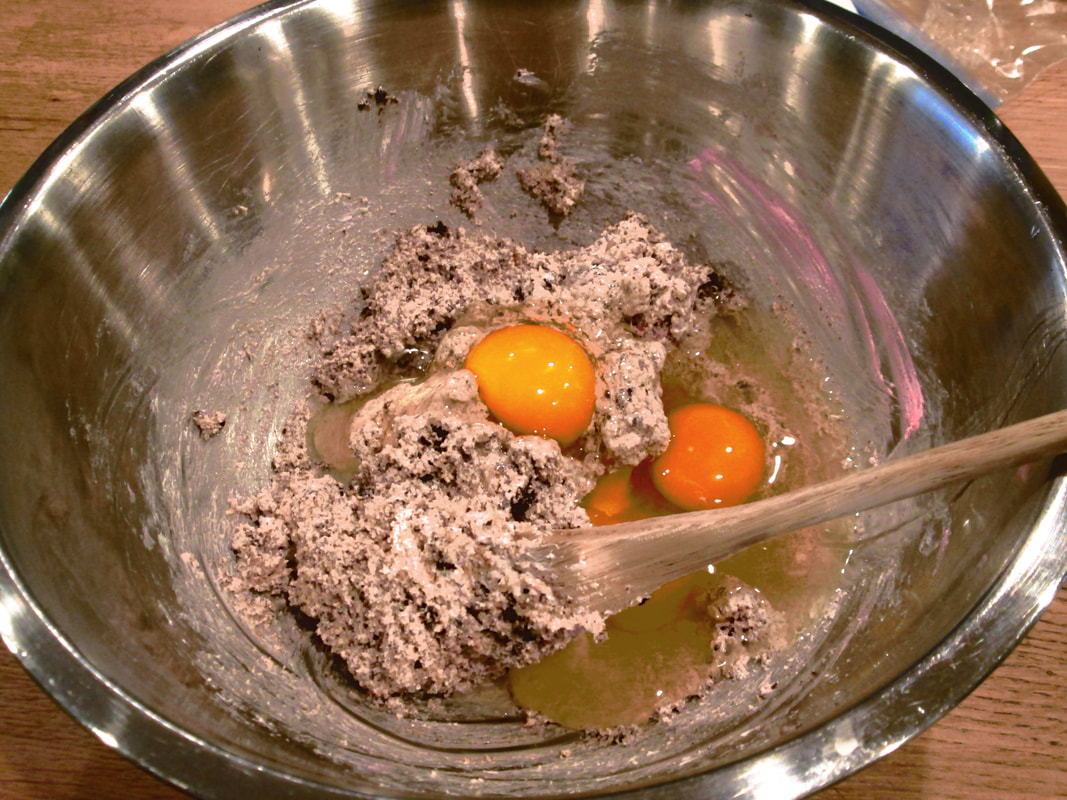
3) Add 3 eggs and 1/3 cup of milk.
4) Stir until liquid-y. 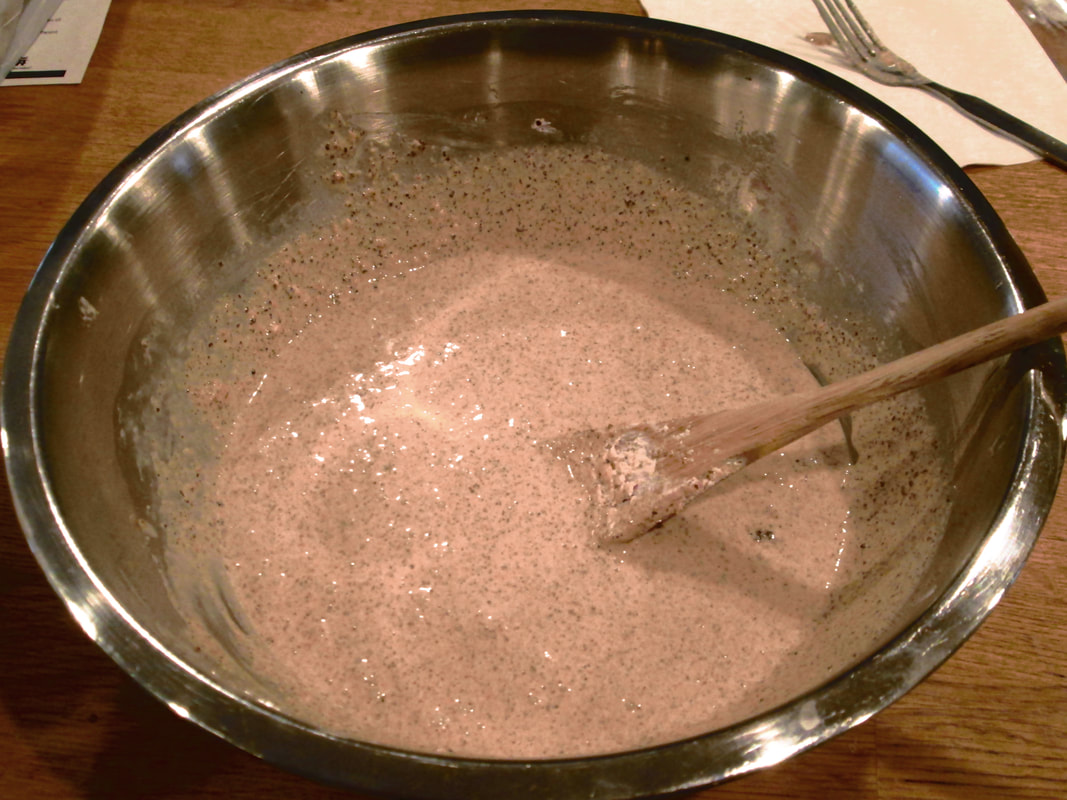 5) Add the dry ingredients - 1/2 cup flour and 1 tsp baking powder - and stir until well-mixed. The batter shouldn't be too liquid-y, but more like a milkshake consistency.
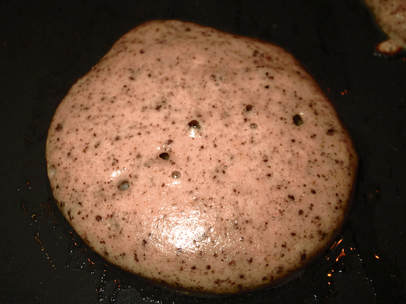
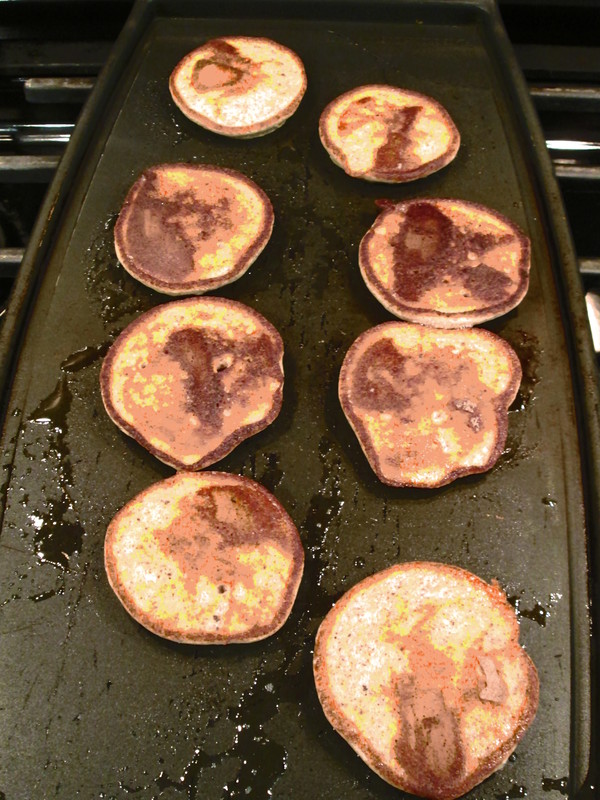
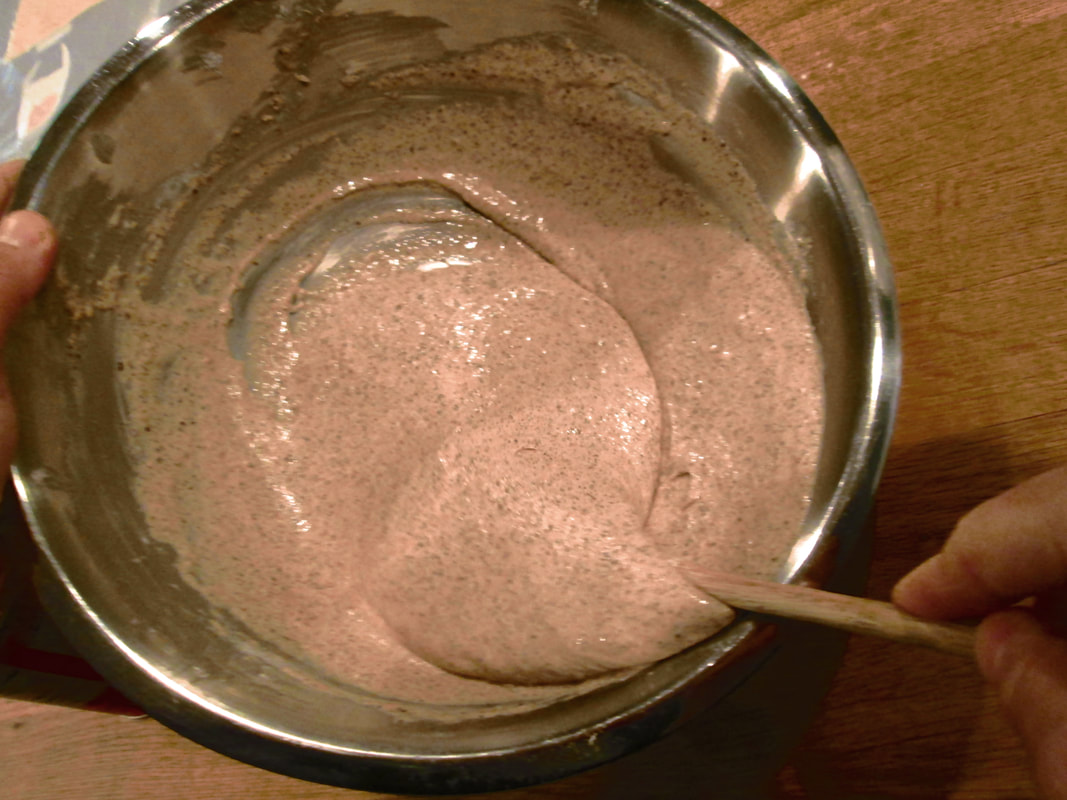 6) Using about a tablespoon-sized spoon, drop batter onto the hot pan about 1/4 inch apart. 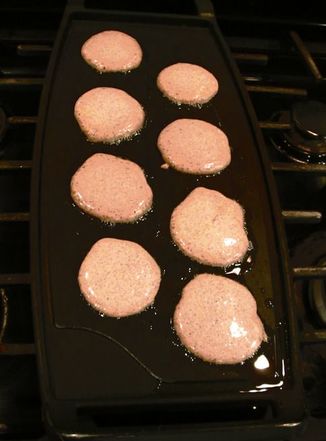 7) You'll know to flip the pancakes when bubbles form and pop on the surface - once there start to be bubble-sized holes, flip them! This usually takes about 3-4 minutes on the first side and 1-2 minutes on the 2nd side. Don't keep them on the stove too long - the sugar in them will make them burn really easily!
8) Enjoy with your favorite syrup! My kids love Saskatoon syrup, which my aunt gives/ships to me from Canada. Thank you, Aunt Linda! 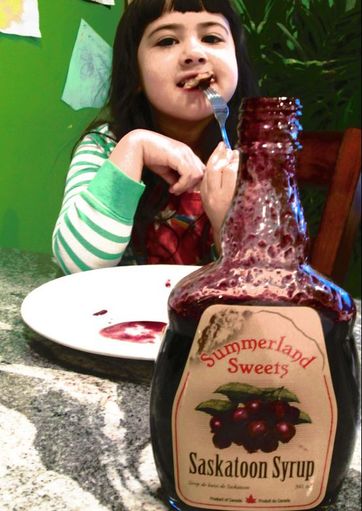 |

Who the heck is Alison McBain?I am a freelance writer and poet with over two hundred short pieces published in magazines and anthologies. Check out my 2024 writing challenge to write a book a week at Author Versus AI. For more info, please check out my "About Me" page. © Alison McBain. All rights reserved
Archives
July 2024
|